Comic Chat - How to Get Started in 6 Easy Steps
Step 1 - Download Comic Chat
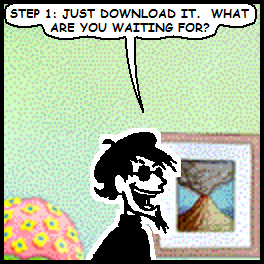
The very first step to getting started with Comic Chat is to download the program. It runs on Microsoft Windows 10, Windows 7, Windows XP & Vista (as well as NT & 95 & 98 & ME). Click here to download the English Language version of Comic Chat (Microsoft Chat 2.5), or to choose from a list of Comic Chat in 23 other languages, click here.
When you choose a version of Comic Chat to install, you will see a dialog box asking "Do you want to run or save this file?" Choose Save and go ahead to save it to your desktop.
Step 2 - Install Comic Chat

In the previous step, you saved a copy of Comic Chat (mschat25.exe) to your desktop. Find it on your desktop now and double click on it. You will first see a dialog box saying, "The publisher could not be verified. Are you sure you want to run this software?" Go ahead and click "Run". You will see another dialog box that asks, "Install Microsoft Chat 2.5?" Go ahead and click "Yes". You will now see another page that presents you with a licensing agreement and asks , "Do you accept all of the terms of the preceding licensing agreement?" Go ahead and click "Yes" (if you do, and you want to run the program). One last dialog asks, "Where do you want to install Microsoft Chat Files?" Go ahead and choose the default unless you want to put the files elsewhere. It's a pretty small install, so usually the default location is OK. Congrats, installation is complete!
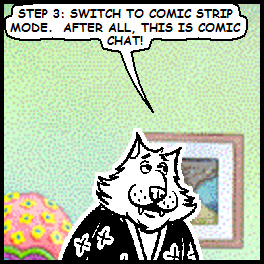
Step 3 - Switch to Comic Strip Mode
Press the Start Button, choose All Programs, and then Microsoft Chat. This will start up the Microsoft Chat program. A dialog box will come up on the screen, but Cancel out of that dialog box for now.
Comic Chat has two different modes: Text Mode, where you just see a regular text view of the dialog, and Comic Strip Mode, where you see a comics representation of the conversation. When Comic Chat is first installed, it defaults to Text Mode, but let's get you set up for Comics Mode. Select the View menu at the top of the window and choose "Comic Strip".
Step 4 - Choose a Character & Profile
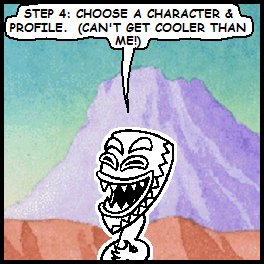
Choose the File menu at the top of the Window and then "New Connection..." A tabbed dialog box appears. Choose the Character Tab, and select one of the 22 included characters. If you don't like any of these, you will be able to create a new one later. You can test out the character's range of expressions and emotions by playing with the emotion wheel under the character.
When you have chosen your character, choose the Personal Info tab and enter your Real name (if you like), and a Nickname that you will be known as online. If someone already has chosen the Nickname, you'll be asked to choose another later.
Step 5 - Specify a Server and Room
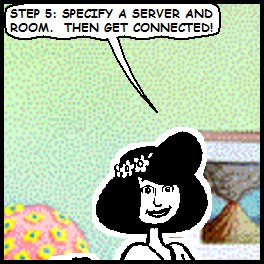
Microsoft no longer runs its own Comic Chat servers, so you will need to enter another one. A good chat server to get started with is chat.comic_sun.net. You will also need to specify a chat room. On this server, a good chat room to enter is bambamsden, so enter that. Go ahead and click OK. You may get a message from the Windows firewall, asking if it's OK to open up the port for Microsoft Chat to communicate. Go ahead and click "Yes". Hopefully you will now be attached to a chat room.
If for some reason the server/room combo mentioned above doesn't work for you, please look at the list of Comic Chat friendly servers published on Mermaid Elizabeth's site (click here) for some alternate combinations to try.
Step 6 - Chat!
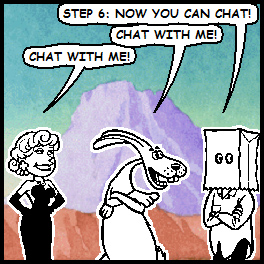
Now you can go ahead and chat with the folks in the room. The list of people in the room is in the upper right panel of the window. To type a message, place the cursor in the text input panel at the bottom of the screen (the short, wide rectangle with the cartoon balloons to the right), type a message, and hit the Enter key on your keyboard.
To choose a particular expression, use the emotion wheel under the self-view of your character in the lower right-hand portion of the window. To whisper a message to just one person, select them in the upper right hand panel, enter the message, and press the whisper balloon button - the dashed balloon in the middle of the balloon icons, to the right of the text entry panel.